Description
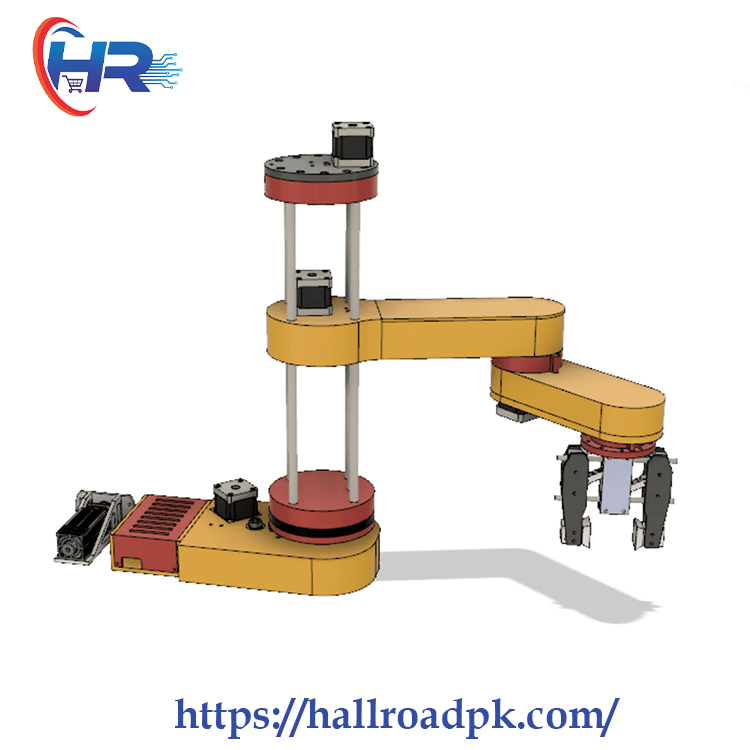
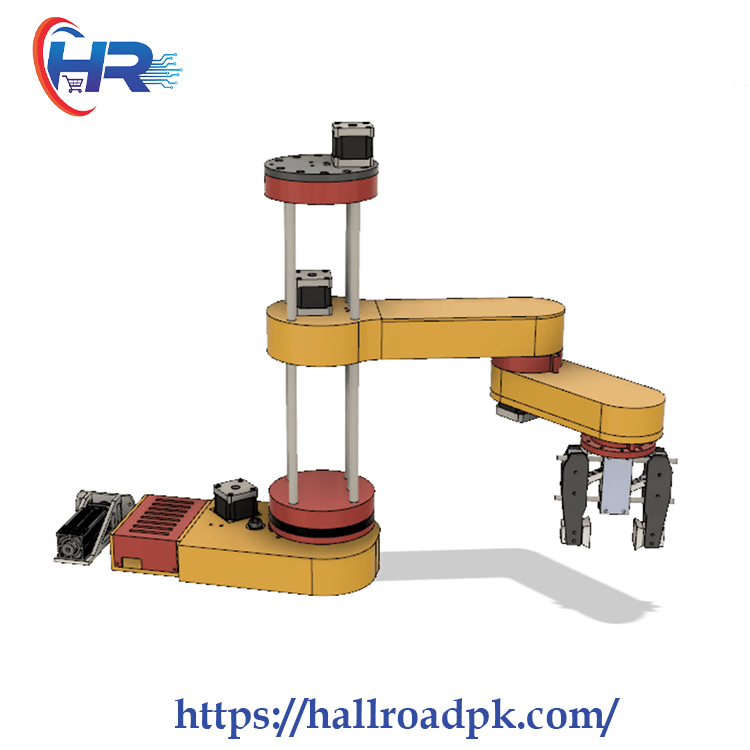
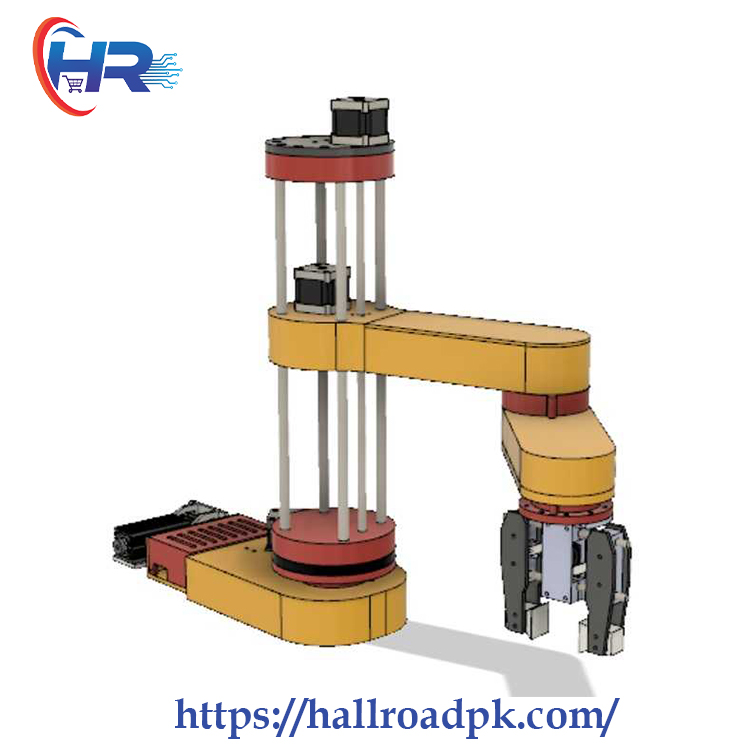
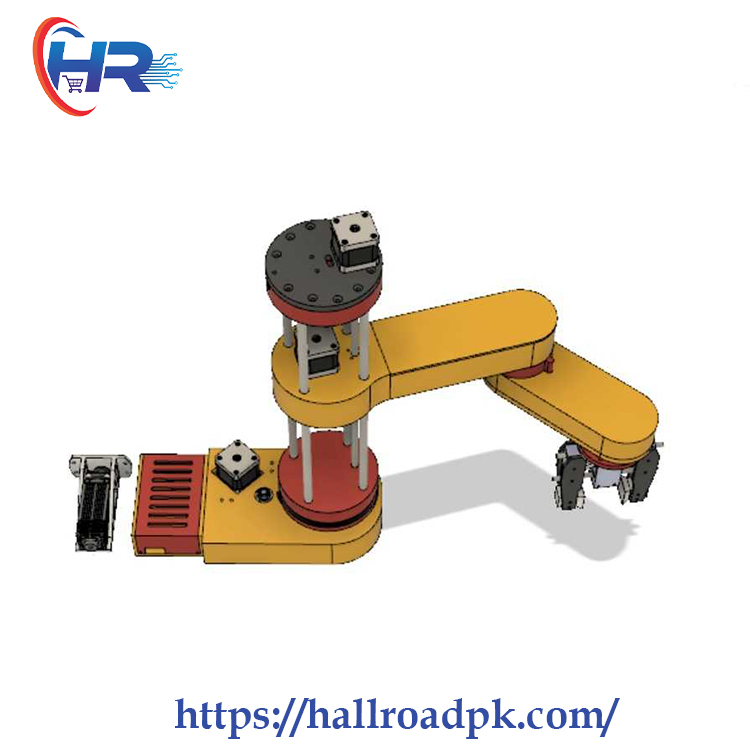
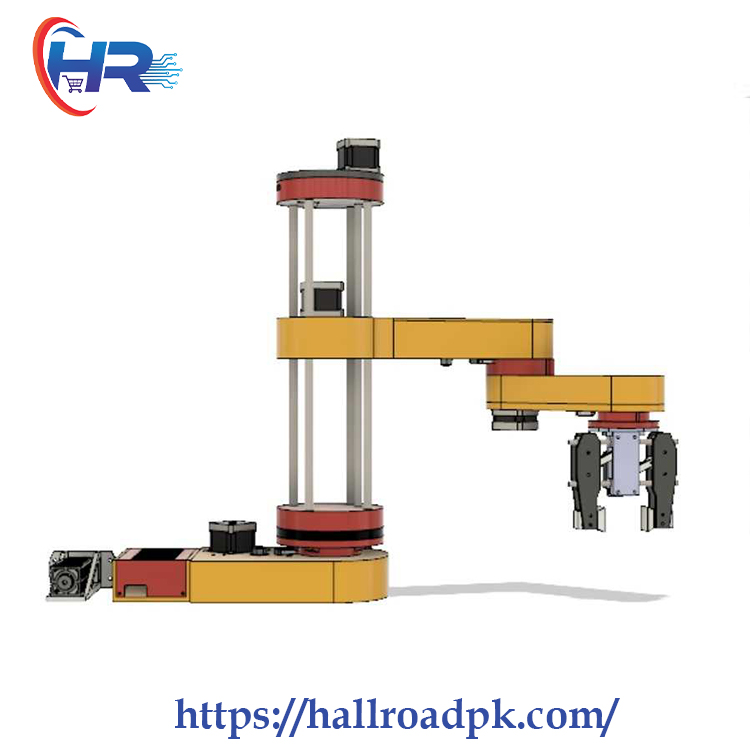
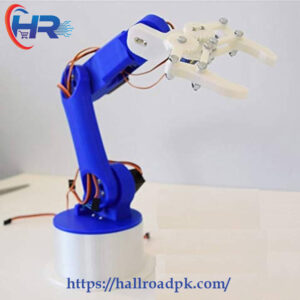
DIY SCARA Robot Arduino Based has 4 degrees of freedom and it’s driven by 4 NEMA 17 stepper motors. Additionally, it has a small servo motor for controlling the end effector or the robot gripper in this case. The brain of this SCARA robot is an Arduino UNO board which is paired with a CNC shield and four A4988 stepper drivers for controlling the motors.
Using the Processing development environment, I made a Graphic User Interface that features both Forward and Inverse Kinematics control. With the Forward Kinematics, we can manually move each robot joint to get the desired position. Using the sliders on the left side, we can set the angle of each joint. The final position of the end effector, the X, Y, and Z values are calculated and printed on the right side of the screen.
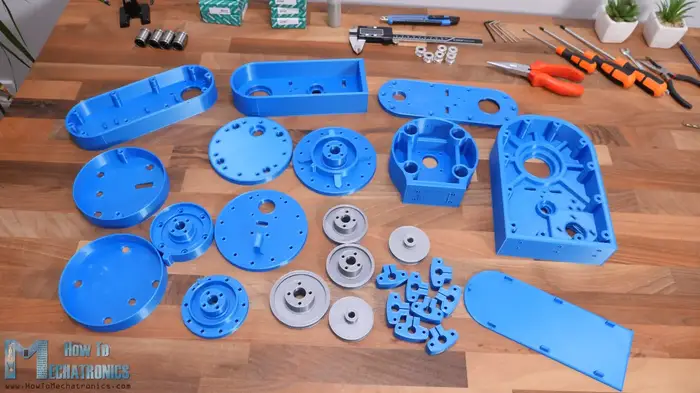
Here are all of the 3D-printed parts.
Of course, the robot can also operate automatically. Using the “Save” button on the program we can save each movement or position of the robot. Then when we press the “Run” button the robot will execute the stored movements in a loop, from the first one to the last one, over and over again. We can also adjust the speed of movement and the acceleration from the User Interface.
Here are the bolt sizes required for this project:
We start the assembly with the base. Here first we insert a radial ball bearing with 35mm inner and 47mm outer diameter.
Package includes DIY SCARA Robot Arduino:
- All 3D Printed Parts
- 3xStepper Motor – NEMA 17
- 3xA4988 Stepper Driver
- 1xArduino CNC Shield
- 1xArduino Uno
- 1xMG996R Servo Motor
- 6xLimit Switch
- 1x12v 5A DC Power Supply
- 4x Smooth rod shaft – 10mm 400mm
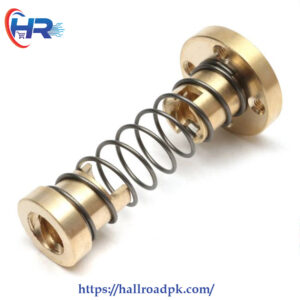
- 1x Lead screw – 8mm 400mm
- 4x Linear bearings 10mm
- 1x Thrust ball bearing 40x60x13mm
- 2x Thrust ball bearing 35x52x12mm
- 5x Radial ball bearing 8x22x7mm
- Various lengths M3, M4 and M5 bolts and nuts
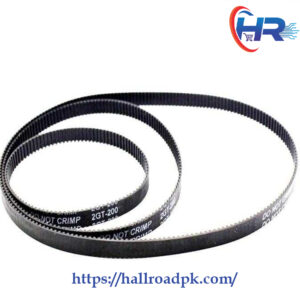
- 2x200mm loop belt
- 1x300mm loop belt
- 1x400mm loop belt



There are no reviews yet.